|
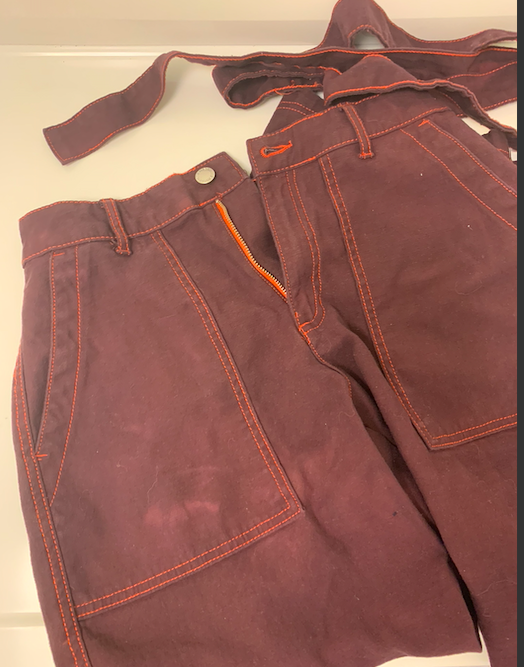
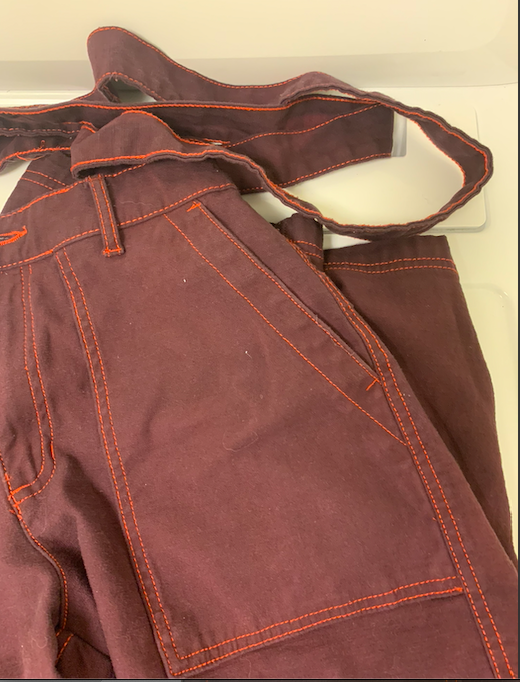
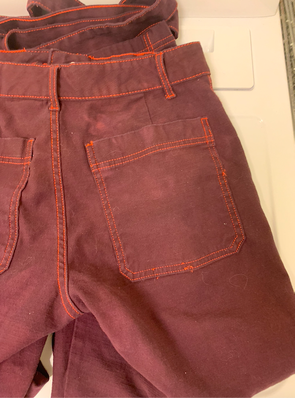
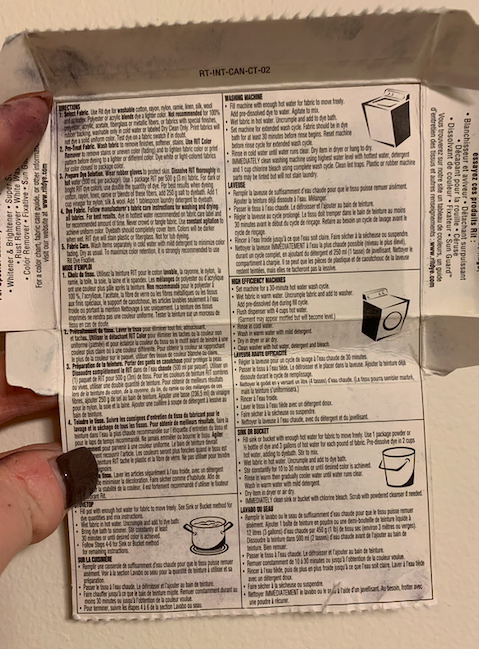
If you need a reminder of what my pants looked like before this DIY, check out my previous blog post. Here's the after... 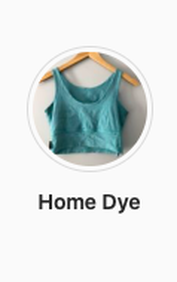 Screenshot from Free Label's Instagram highlights Screenshot from Free Label's Instagram highlights I didn't consider that blue (dye) and pink (pants) mix to make purple. So, now I have purple pants that I like less than the original coral colour. If anyone wants these pants, I will donate them to you! This DIY did not go as planned. The purple isn't terrible I suppose, its maybe a more year-round colour to wear, but I didn't want purple pants. The process took a couple days, involved carefulness when working with the dye and wasn't what I expected. The videos I watched from Free Label's Instagram made me have high hopes for this project. 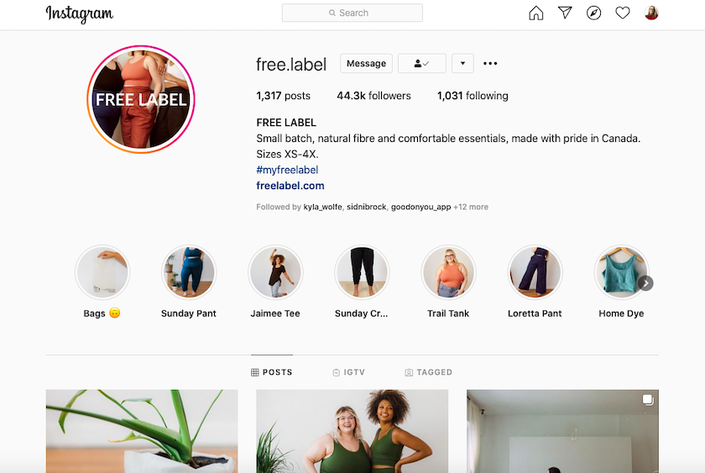 Screenshot from Free Label's Instagram page. Screenshot from Free Label's Instagram page. However, the dye instructions were complicated so I may have (I did...) disregard them for the most part. Whoops. I don't like reading a novel of instructions apparently. Either way, this wouldn't have fixed the weird colour result. If I could redo this, I would search for YouTube videos to help me with the tricky parts, like taking the garment out of the dye, how to wash it after, the best size of container for the garment, how much water to put in, etc. One thing I'm curious about is why the dye didn't color the thread. This is another look that I didn't anticipate. Had I searched YouTube for how-to videos, I could have better anticipated these hiccups. Perhaps the type of dye affects whether it dyes the thread. I was pretty impressed with how uniform the garment was after being dyed. The only slight discolouration was on the front right pocket and back right pocket. This may be due to lack of movement of those fabric areas, or these area may have been bunched up temporarily.
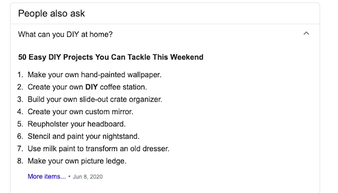
For next week, I'm going to focus on finding more DIY ideas to try from Pinterest. I may re-dye these pants to be black, but not anytime soon as it was quite the ordeal. After doing this, I realized that I didn't look at Pinterest at all for this project- very unlike me. I think this is because I had a video guide and instructions on the dye, so Pinterest didn't even cross my mind. Pinterest provides so many different possibilities and paths that I wouldn't have thought to take, like tips and tricks to make dying (of the Rit version) a success. I couldn't resist the temptation. Here's what I found. 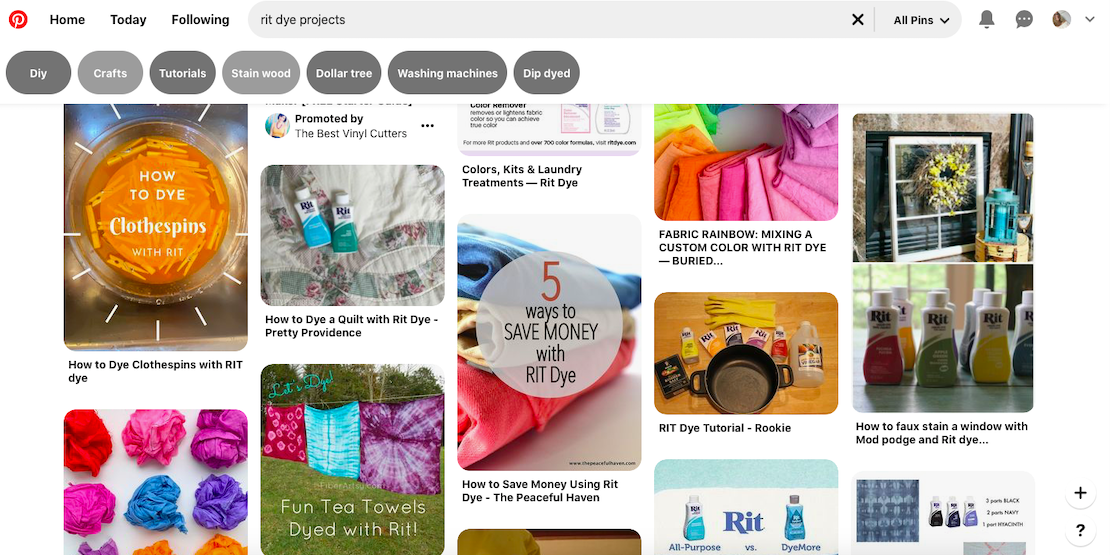 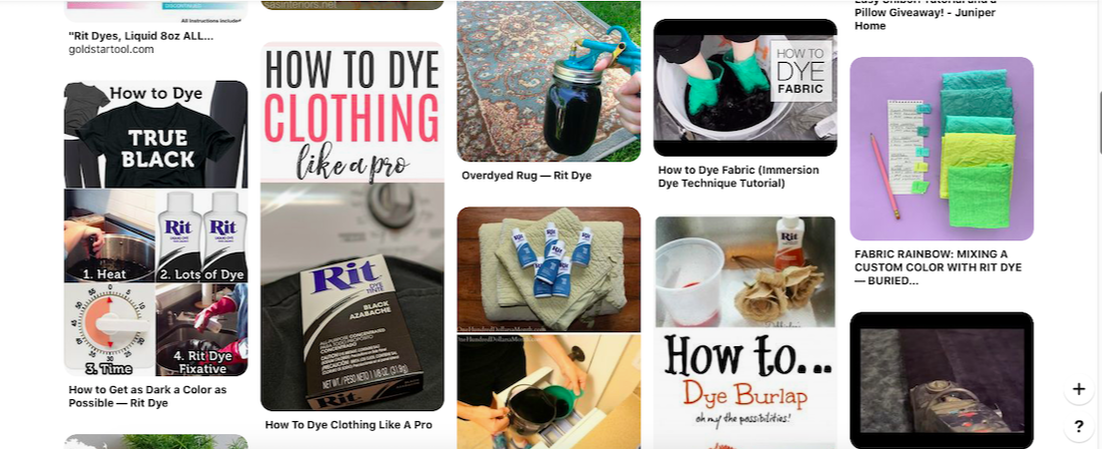 Although I'm already finished this DIY #1 for my learning project, these ideas will remain available if I decide to try again. I even noticed a new idea, to use Rit dye to dye burlap - such a good idea! Burlap comes in handy with home decor - right up my alley - and the cheap stuff never comes in multiple colours. Brilliant. Pinterest does it again.
One thing that I strive to aim for when doing DIYs is to make them functional. If its going to take up my time and money on materials, it has to be something that I will use. And I don't like junk, so it needs to serve a purpose. Going off of that, I also have a recent passion new love for finding sustainable items, such as thrifting, etc. and using what I have to lessen the amount of stufffffff I own. This podcast episodes highlights how we can find more in less. Stay tuned! If you have any ideas for me, please share them!
6 Comments
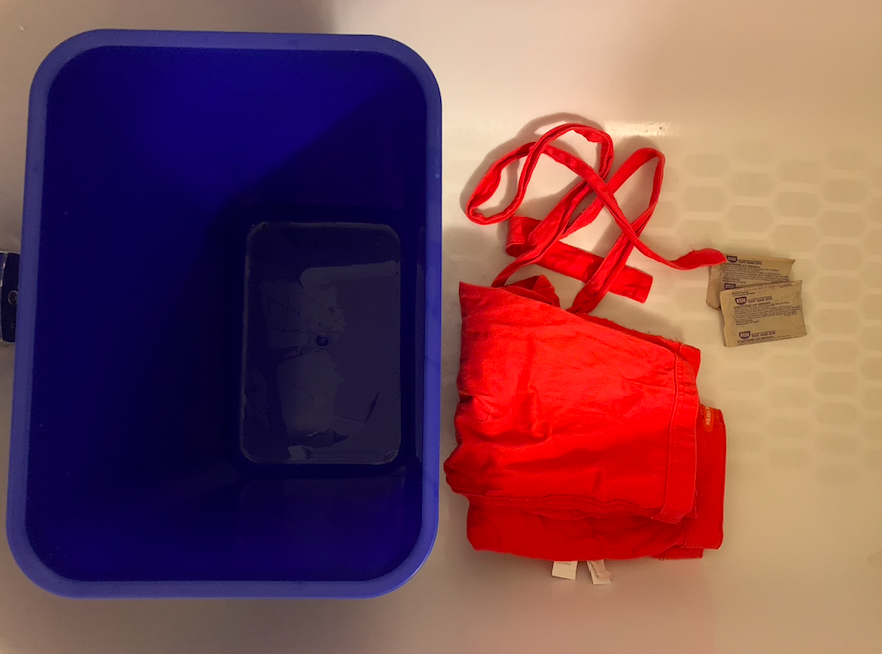
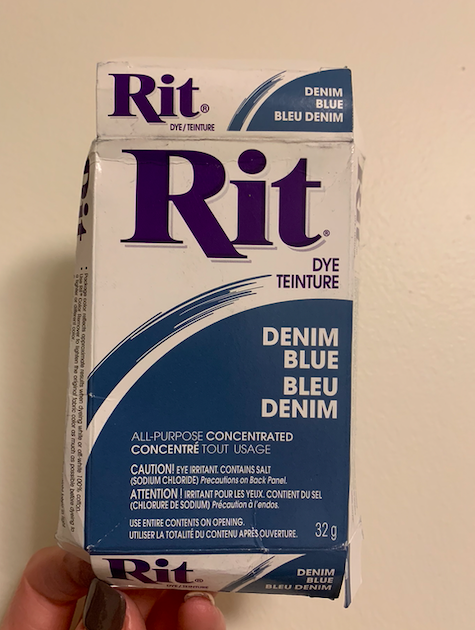
To start my learning project, I did I DIY that I wanted to do this summer but, naturally, ran out of time before work started back up. I used a pair of 99% cotton pants from Joe Fresh that are a very coral pink. Here's a link to a similar pair. I love the color but I wanted to make them more versatile for all seasons. To me, coral isn't a color that I would wear in Fall, for example. I chose to dye them denim blue, as the package indicates. I own a lot of black clothing and I am not short of black pants, so blue seemed like a better option. I hope *fingers crossed* that they turn out navy blue and that the color is uniform on the fabric. Here's to hoping! This is supposedly achievable with constant movement of the garment in the water, but who has time for that?! Like any brilliant DIY-er, I let the pants soak in the dye overnight and during the next day while I was at work. I moved it around when I could. Here's some pictures from the dying process. Emptying the bin after dying was a process. I knew I shouldn't put the coloured water into the bathtub, but had I tried the sink it would've ended up on the floor, and dumping it on the grass would've looked like a blue-blood murder scene. So, down the tub drain it went. The tub is only (slightly) stained blue. As you can tell from my photos, the prior renter already made a fancy pattern on the tub floor from hair dye, so I didn't feel too bad.
Once I did that, I was scared to wash or dry the pants. So, once I figure out how to do so in a somewhat clean fashion, I will prep my pants to show. I anticipate for next week's blog post, I'll show the finished product from this DIY. I anticipate the color will fade after washing the pants in cold water and drying on low heat. My intention with this project is not to perfect every technique, but to be comfortable in trying multiple - even if they don't go as planned. Stay tuned!
|
Categories
"instagram logo copyright free Virginia State Parks" by vastateparksstaff is licensed under CC BY 2.0

"Copyright free Pinterest logo Virginia State Parks" by vastateparksstaff is licensed under CC BY 2.0

"youtube logo" by redsoul300 is licensed under CC BY-NC 2.0

"Google Logo Search" by theglobalpanorama is licensed under CC BY-SA 2.0
"cc-logo" by openDemocracy is licensed under CC BY-SA 2.0
|


 RSS Feed
