|
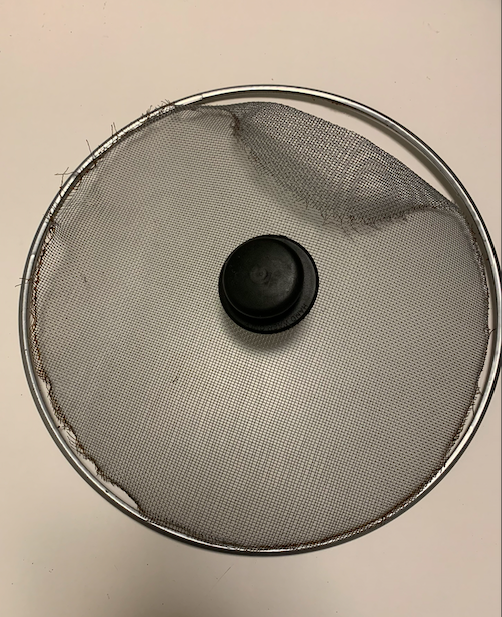
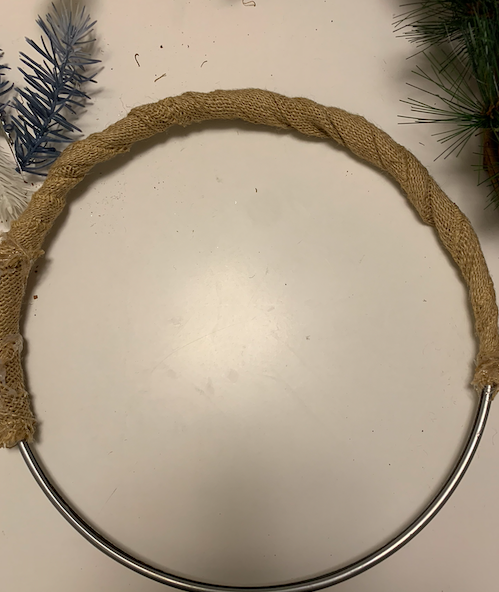
I had to come back to this DIY because it's winter now, not fall, so that means I needed a new wreath - duh! Similar to last time I went to Value Village in Regina to find supplies. This time around I really wanted to use a different approach and supplies. Part of learning is exploring new approaches. I went into it knowing that I wanted something that I could put up for all of winter. So no Christmas themed wreaths for me, please! To do this I first searched the web. I found inspiration photos from Pinterest first, you can see them here. Although this is no different than last time, I know that this helps my learning because I can visualize what I like and dislike and, therefore, set myself up for success. I would expect my students to do the same as they plan for any type of project. Then, I found an online magazine article to base my process on. Do people even read print magazines anymore? I will be referring back to this after this course is finished for more DIY ideas to do over the holidays. Not only did this article give me a list of materials and steps to make a wreath, it also provided an extra learning opportunity about the history of wreaths! Check it out if you don't know why wreaths are even a thing - I sure didn't. Based on the photos I saw and saved, I knew I wanted to use a wire frame. I needed something for this, as there were no wire wreath frames available at Value Village. So, I wondered to the home isles. That's where I found a bacon cover (is that what it's called?). The frame is the perfect size, so I ripped out the inside netting and voila! It was really gross - heads up if you try this. I had to clean it for my own sanity. If I hadn't found this to use as a frame, I had a plan for what I would try instead. I also knew I wanted to only cover the bottom half and leave the rest of the frame visible, as per my inspiration photos. I didn't post these blog posts due to what I heard from this podcast episode. The host and a the guest discuss the need to separate from an image of a finished project and to instead make a list, or simply put a name to what you want to make. Anyways, the greasy frame was an eyesore, so I covered that real quick with burlap - another favourite decor item of mine. Then, as I was thinking of my colours and items to use, I realized that the surface area of the metal frame was slim to none on the bottom. I didn't have confidence that I would be able to fit very much on it, or that things would stick well. So, more burlap (yay for burlap!). You can see each stage of my thinking in the photos below. I had to glue more items on to make it more full, but I really like the minimal look, just as the article described. Part of learning is teaching. Part of learning is modelling. This time my sister did this project with me, which also contributes to the learning process since the environment is different. If you recall, the previous time a made a wreath with a well-seasoned-wreath-making friend. Whereas, my sister has never made a wreath before, so she was hesitant, much like I was the first time. Because of choosing to approach this a second time, I observed that was very careful and diligent with how she placed her items on her wreath. She chose items in odd-numbered groups and placed them, only after a lot of thought and consideration. She pondered the size of her wreath, where she should start, if she should also wrap her wreath in burlap like I did, what colours to use, where she should place each item, how many of each item to use, etc. etc. The list went on. I bring this up because the learning process does not stop with me and my projects, it goes beyond that. Using my experiences to help others with a similar task is important to learning for the teacher and the learner. Curious to see how it turned out? Check it out. 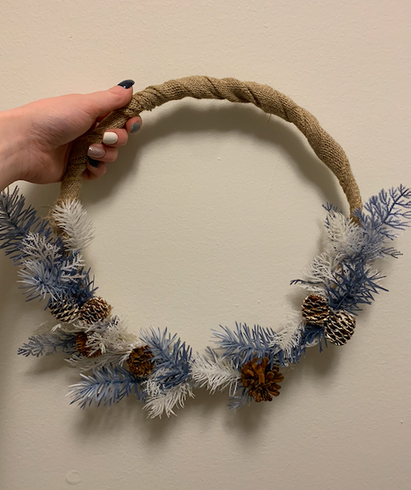
Finished product.
3 Comments
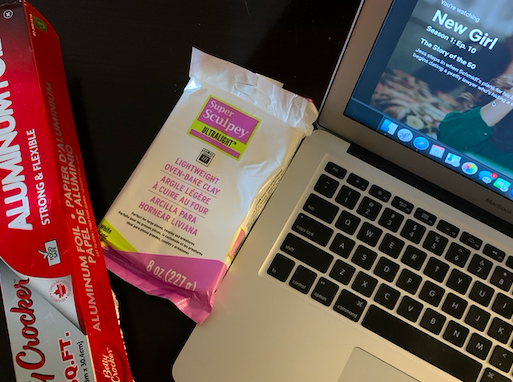
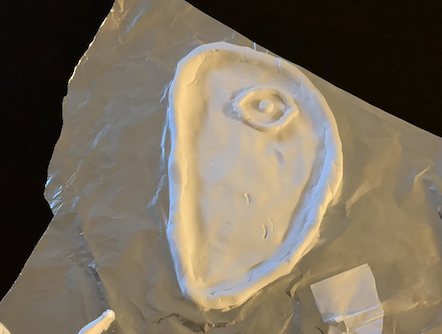
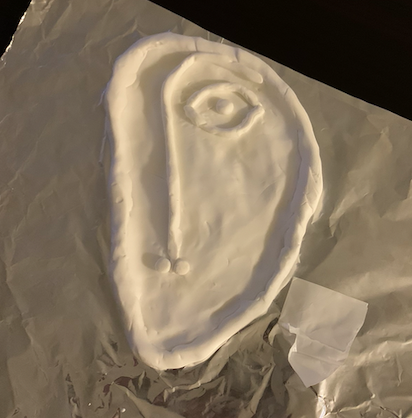
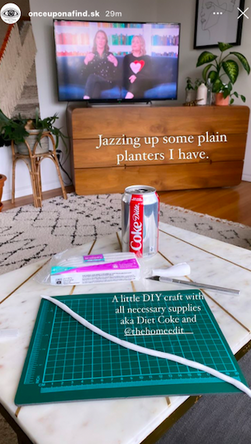
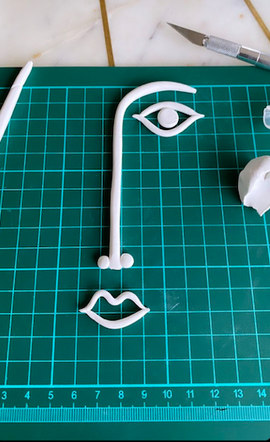
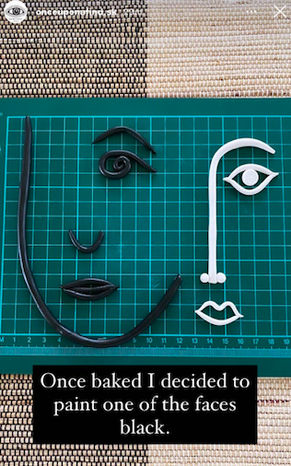
This week is all about clay! The oven baked kind. From Michaels. *thank you, teacher discount* I saw this dish idea on Pinterest and I love it! Here's the post for reference. I love the look of delicate faces on decor. They're classy, simple and never go out of style. I have a vase from Chapters that will match perfectly. This week's tool that I used is a blog. This is new to me, because although I write on my own blog, I don't often seek blogs out to learn from them. To me they seem like a more casual text form. The Pinterest post lead to a blog from Snap Society, which guided me through this process very roughly. I did not follow along exactly, however, because I used different clay, so therefore the result looks slightly different. More imperfect. The imperfections, such as the curvy pieces, finger imprints and oddly shaped parts bothered me at first. I did work very hard to get them as smooth and perfect as possible, but with the one baked clay it just wasn't happening. I had to let go of my high expectations for this project. Another idea with clay that I found came from Instagram Instagram stories, from @onceuponafind.sk is a planter face. Steps and the final product were all included in an Instagram story, which are short videos and pictures,, and it was easy to find since I was already using this platform.
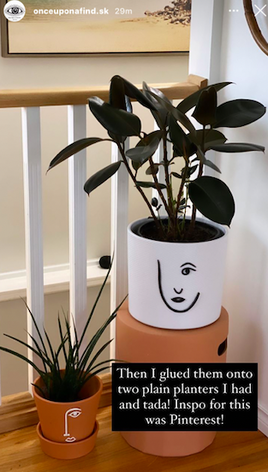
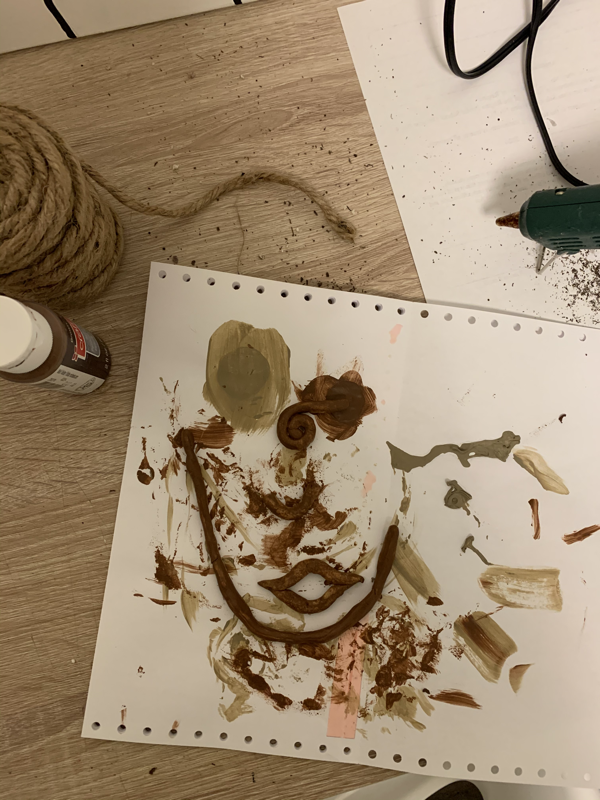
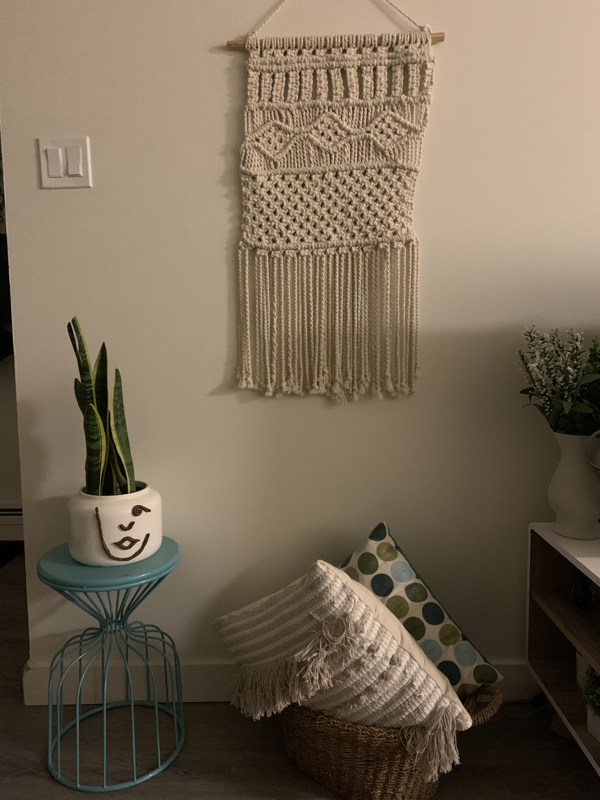
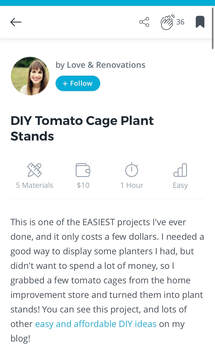
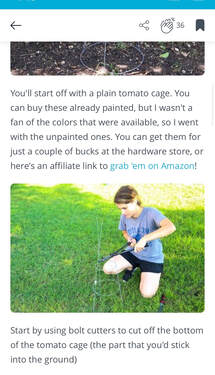
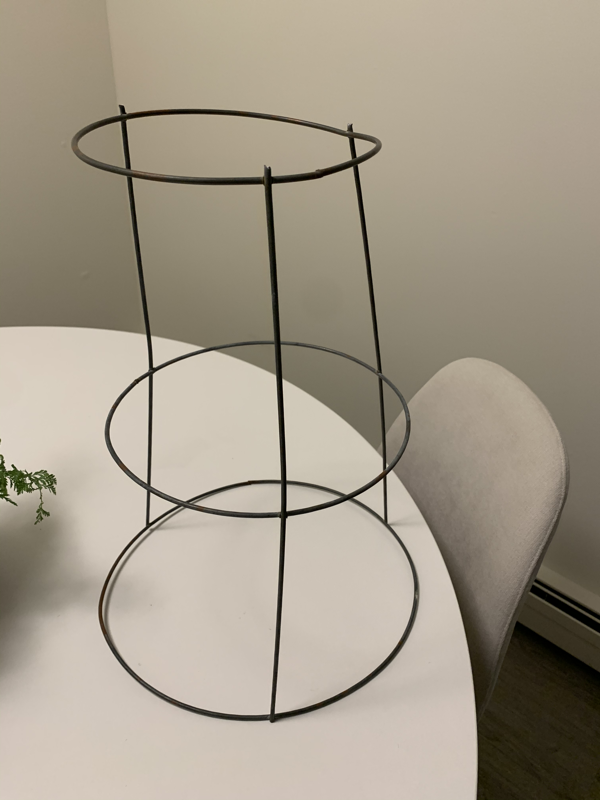
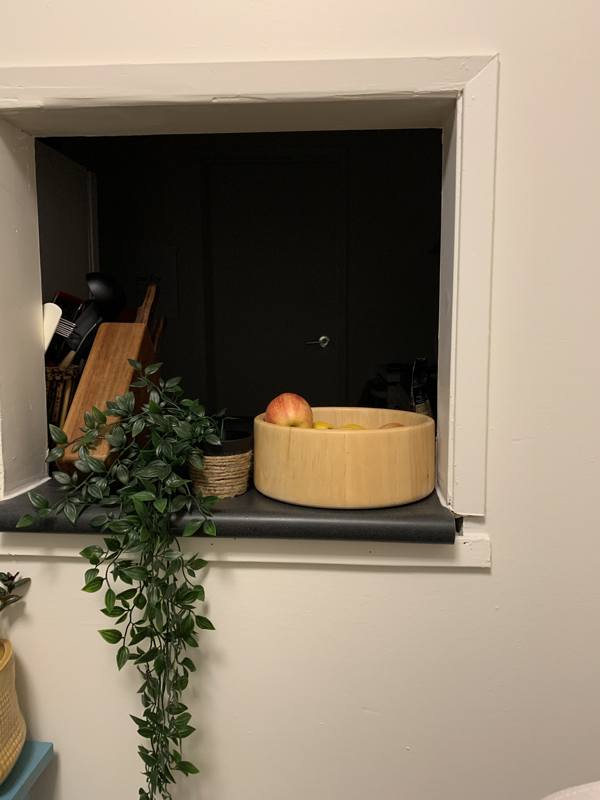
The process was the exact same as the clay dish that I showed at the top of this post. The only additional step I chose to add was to paint the white clay to stand out on a white pot, as I mostly have white planters. Here are photos of the process and final product. I hadn’t thought through the shape of the clay versus the curved shape of the planter, so gluing it on was tricky. Some parts aren’t glued flat with the planter because I thought that the clay would break if it was bent too much. Who knew tomato cages are so useful for things other than tomatoes?! I originally saw the idea to turn tomato cages into plant stands on Pinterest, but the post was lacking instructions. Although it seemed easy, I’m not typically comfortable “winging it,” so I needed to find instructions for my own sanity. So, again this week, I turned to Hometalk to search and utilize what I know will be a reliable “how-to.” If you don’t recall, I reviewed Hometalk in my previous blog post. I found several articles to explain this DIY, but I bookmarked three to compare in the app. Here’s a look at one of them from a screenshot.
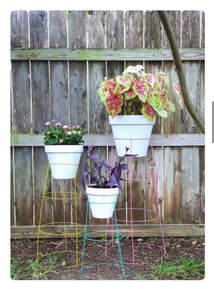
How cute?! And simple! I love the colours that she added to her yard, but I like to keep things neutral. It it was nicer outside, I would spray paint my creation. This podcast host also loves spray paint. I used two tomato cages to make two plant stands, but the process was the same, so I’ll walk you through one. I flipped the cage upside down, first. I bent the legs (that normally would stick into the ground) until they snapped off, which surprisingly came off close enough to the circle brim. They’re a little sharp but I’m not too worried. Then, I painted. The first one is brown, because I liked how the clothing hanger shelf in a previous post turned out when painted brown. The second one I painted white. It required a few more coats of paint. Voila! That easy. Now, for my favourite part - how did I style these new plant stands? Take a peek.  
This week's app that I've chosen to use is Hometalk. Quite honestly, I was excited to use it even before this week, so I was tinkering a bit. It looked just so much more sophisticated and well made than last week's app, Creative Ideas, so I couldn't wait!
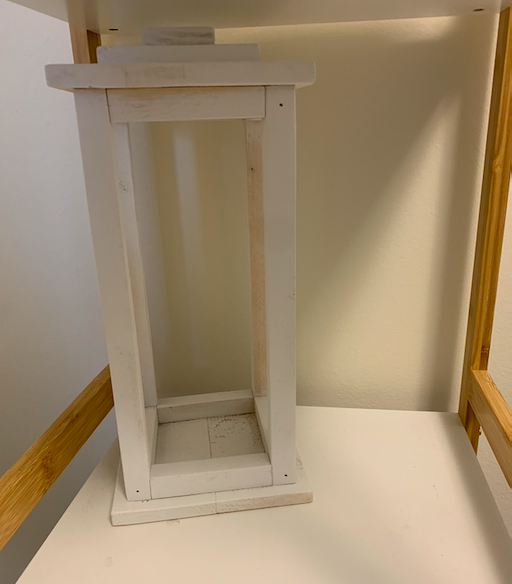
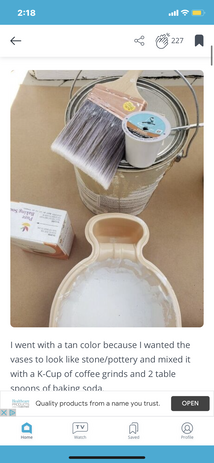
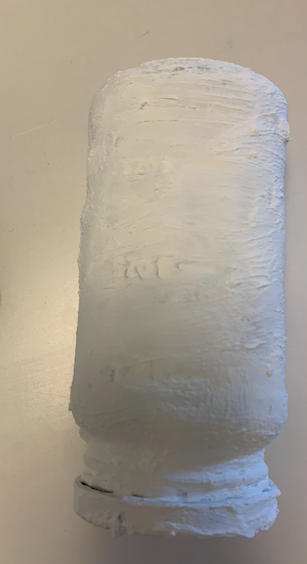
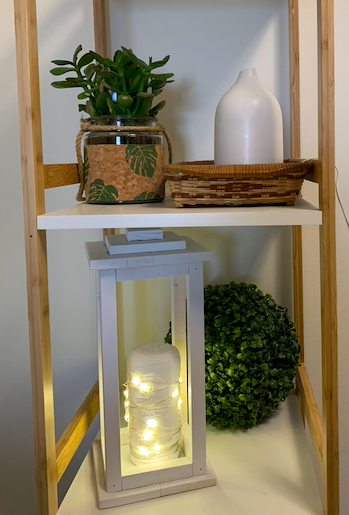
I followed the instructions loosely; I had to make a few adjustments. Firstly, I used a mason jar to paint because I didn't have an extra vase or a glass bottle that would fit inside the lantern. As well, skipped using coffee grounds, because I didn't trust that that was really needed. Baking soda was clumpy enough for my liking.
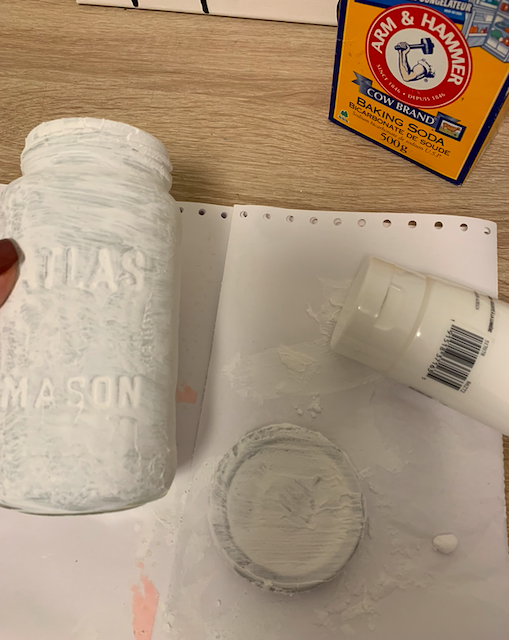
This is what the process and final product look like.
My final rating of Hometalk.
A DIY? Yes. A fantastic one? No.
Nonetheless, here it is. 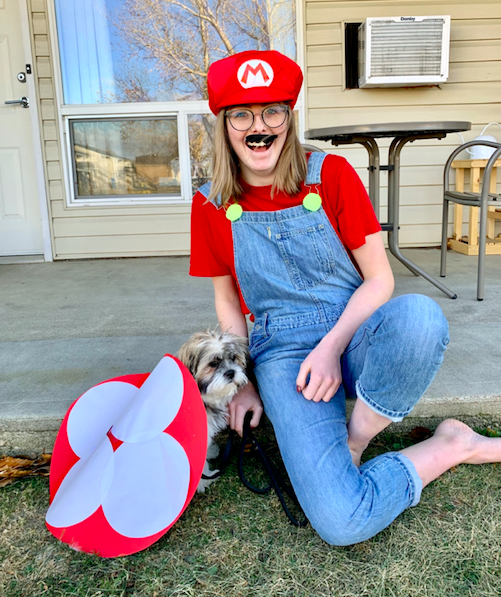
HAPPY HALLOWEEN!
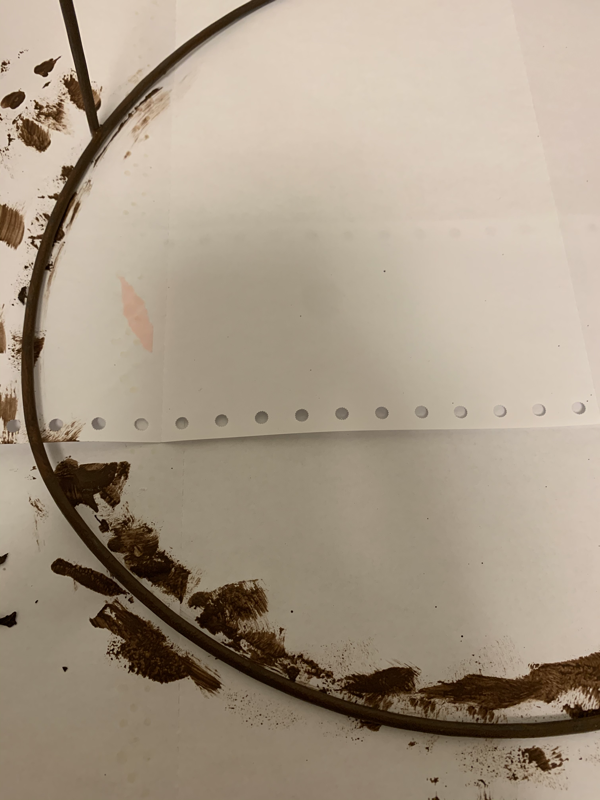
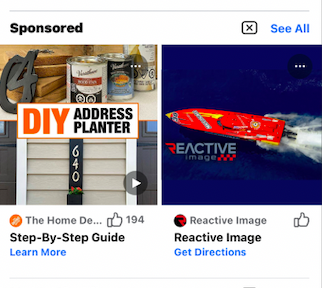
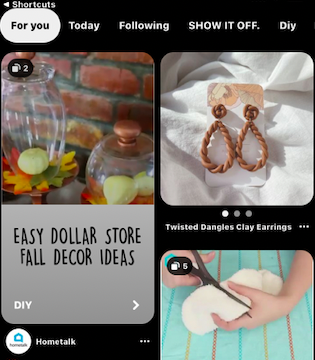 As I was exploring new apps, such as Hometalk, my internet searches were more catered towards related items. Also, I realized that there's a Hometalk website! Dreams do come true. Within Pinterest, Hometalk shared an ad that I was quite impressed with. A DIY suggestion showed up in the 'For You' tab in Pinterest, meaning that it is a suggestion catered to the user as oppose to searching for it. Less hunting for me to do for a potential DIY project! I saved it to my DIY pins that I mentioned here. I bring this up because it relates to this week's tool that I used. This week's tool surprised me, and I hope its a nice surprise for you too if you're reading this. Our internet views are based on our internet views. Read that again.. Creepy, right? What we view on the internet is how our future news and information is decided. Over the course of the last couple months, DIY has been something that I have liked, tweeted, searched, read, re-read, favourited, bookmarked - you name it! - so it makes sense that this is also what I'm seeing more of on social media platforms. A guilty pleasure of mine is Facebook Marketplace, so as I was scrolling (for longer than I would like to admit), the sponsored ads took me be surprise. But based on what we know about how the internet decides what you see, it makes sense. This is what I saw - an ad for Home Depot DIY projects. Hover over each image for more information. I found this one day, screenshot it when I saw it because it looked like a good idea. I like to collect DIY ideas and then decide on one for the week. And, if I'm ever at a lack of ideas at the moment, I can search in my collection of ideas - usually just my photo album on my phone. But then a couple days later when I wanted to refer back to the project idea, I didn't realize that the ad would be gone. This was an amateur mistake.
I didn't think to look for all the instructions the first time I saw the ad. This "tool" may not be the most reliable for DIY projects. From this experience I learned that among the many tools available to me on the internet, not every one is going to work. For me, this might be frustrating, but it is something that I would encourage my own students to persevere through.
I have recently received feedback regarding my learning project, so this week I have reevaluated my plan and looked for new tools to use, one of which I used this week to create a new DIY project. Going forward, I want to try a new DIY every week, each week using a new tool, app or video to help me in my learning. I anticipate that some tools will be more successful than others.
For the upcoming weeks, I needed something that I could use on my phone, since this is what I have the most constant access to, and the piece of technology that I check most often. This seems like it would make my life easier. So, I turned to the App Store to help me with this. I suppose I wasn't surprised at how many DIY apps there were to choose from, but I was a little curious as to how popular apps, specific for DIYs, are for DIY-ers. I've never thought of using an app for DIY inspiration because, to me, DIYs seem to be something that is trending on social media, and, therefore, the most trendiness ideas are those that are circulating. But, a good and trusted DIY I guess can't go out of style. Anyway, here are the apps I found: 


For this week, I chose to explore Creative Ideas. This was a pretty random pick to be honest. I intend to try them all at some point, so I don't foresee the order mattering much.
Here is a look at the app for this week.
From what you can see, it's fairly easy to use, but the set up and aesthetics isn't great. I like that the Home within the app is constantly changing, and for the most part, there is a variety of people who share ideas.
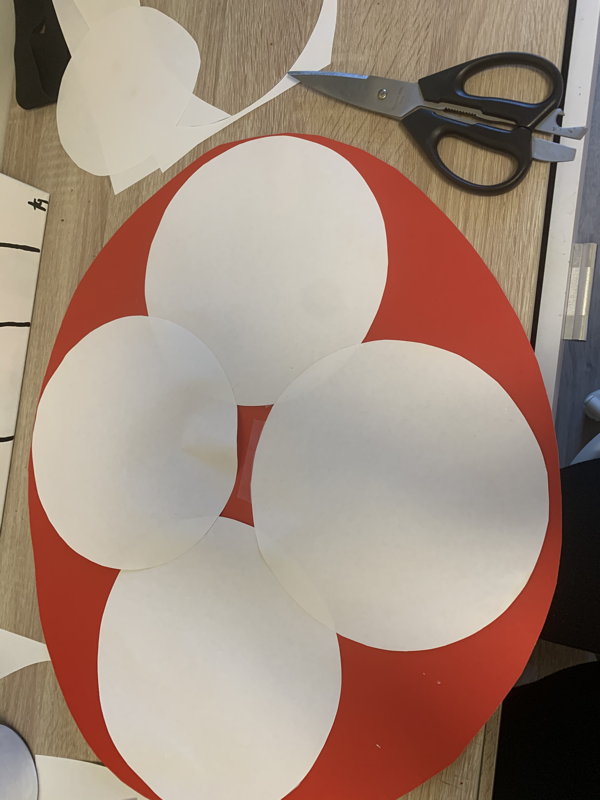
However, there are some down sides. From what I've seen, there aren't directions to create most of the ideas posted. There is either a photo (of the final product) or a Youtube video. It would be more useful if there were clear photo and written instructions perhaps in addition to the video. As well, most of the ideas I've seen are somewhat junky ideas. They're random projects, that don't seem to serve a purpose. For example, adding buttons to a pillow to make an image, painting on popsicle sticks or making paper wreaths. For me, these aren't worth my time. I think that these types of projects should be aimed towards kids. As well, even if I did chose to create these random projects, many are labeled and attached to a photo as an idea that someone liked, rather than as a spot to see how to do the project. A dumping ground for (some) neat ideas. Some of the ideas that I did like, I've shown below. I screenshot them before I knew I could make an account and 'favourite' each DIY. I can't refer back to them. Another downside of the Creative Ideas app is that there isn't a search feature. Regardless, these ideas seemed to be the most purposeful and likely for me to try. I could see myself using these ideas in my home and classroom.
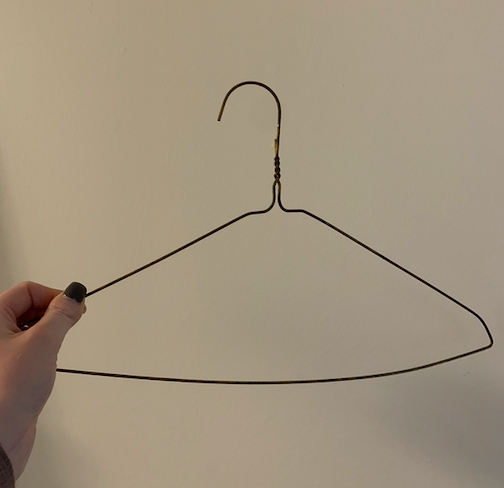
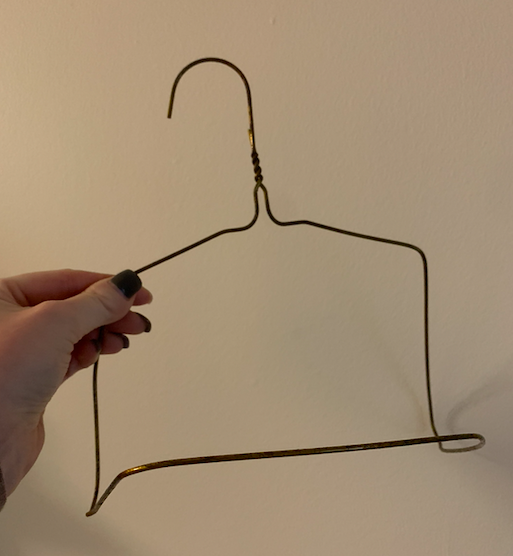
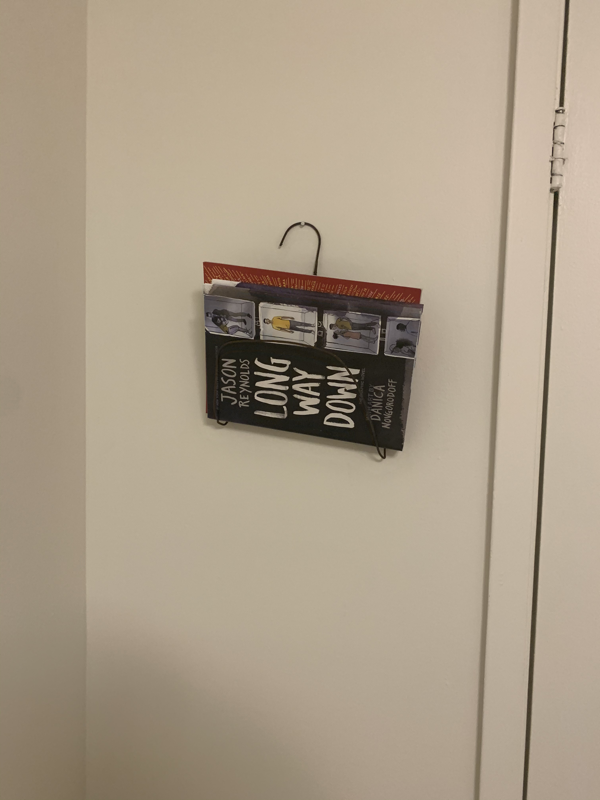
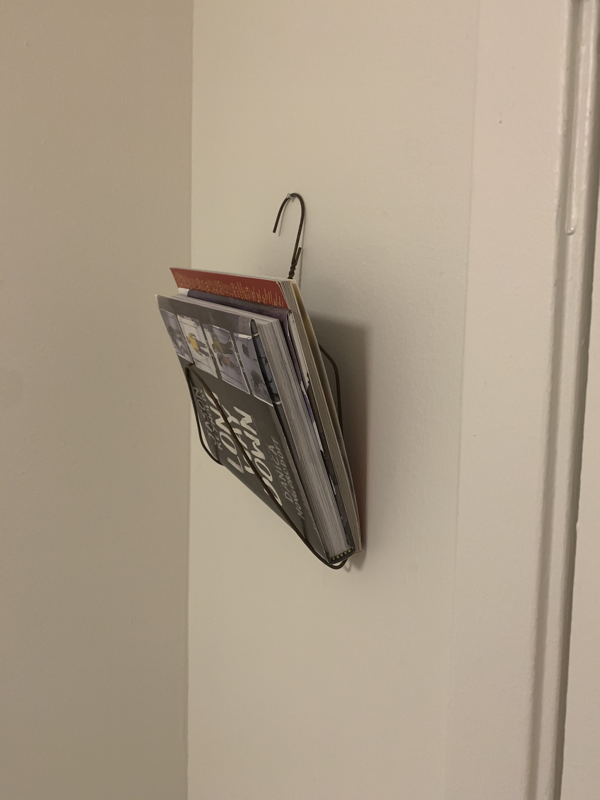
Since the instructions as to how to create these DIYs are lacking, I just had to pick up and hope for the best. I decided on the clothing hanger book shelf.
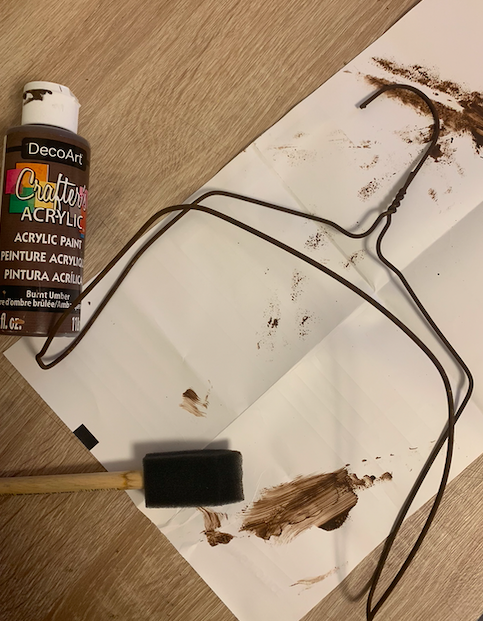
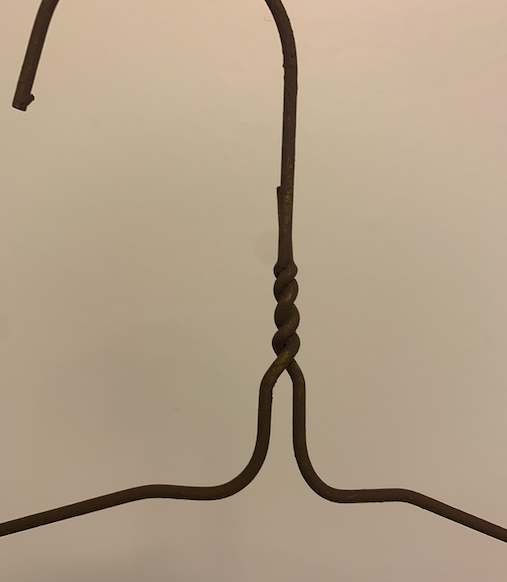
I bent the hanger to mimic the shape as the pictures shown above, from the Creative Ideas app. Then, I used a painting sponge and brown acrylic paint to finish it off. Here's some pictures during the process.
Overall I tried to do a DIY from the randomized ideas fromCreative Ideas, of which I was not too thrilled about, however, the final product turned out alright.
My rating of Creative Ideas: 
http://outlaw-urbanist.com/geography/two-star-rating/
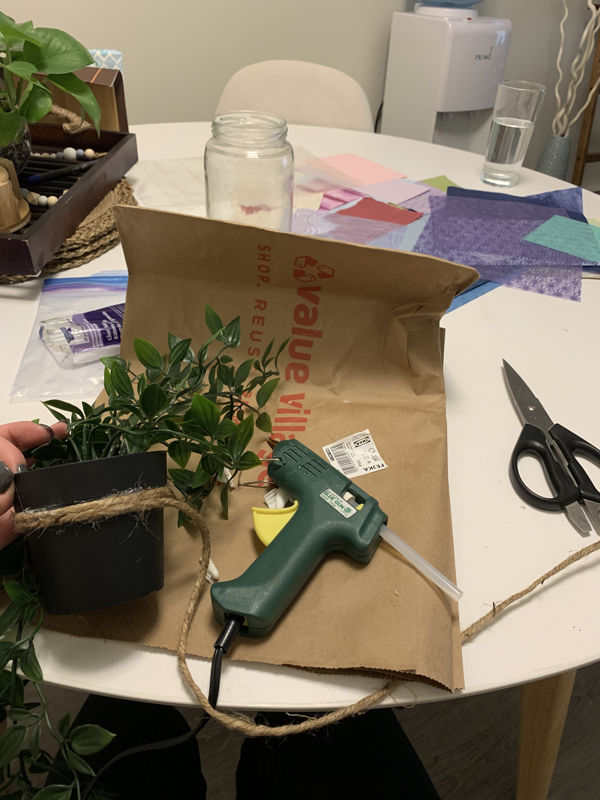
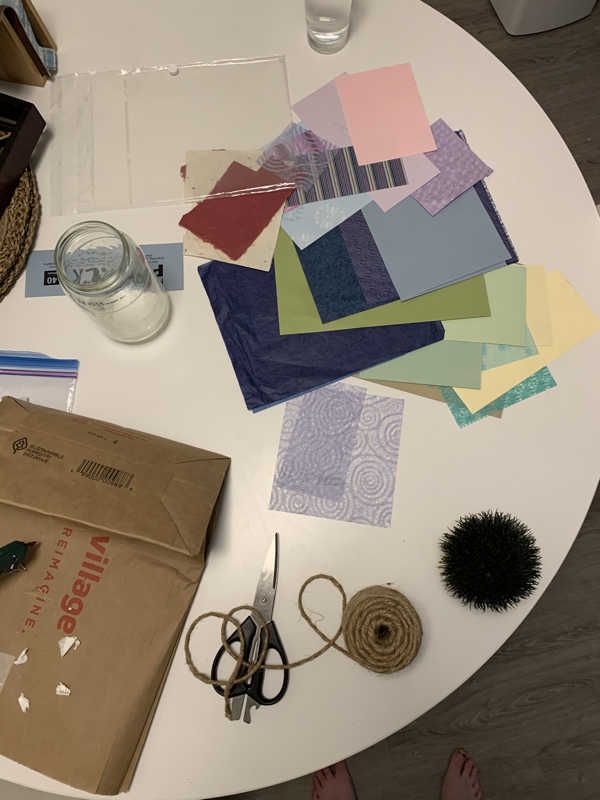
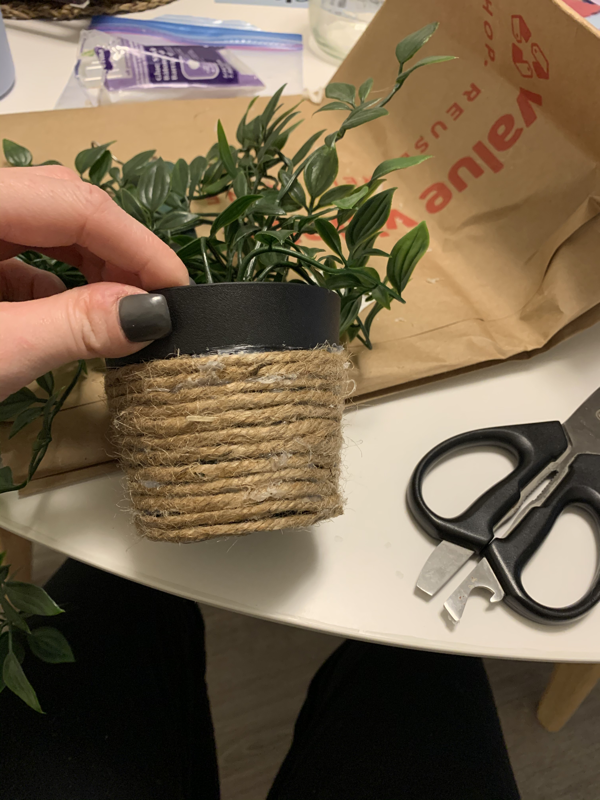
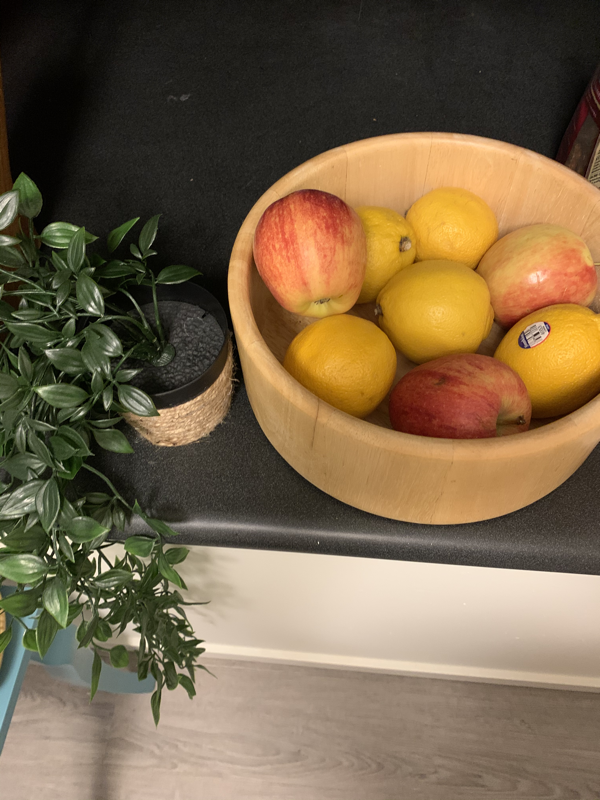
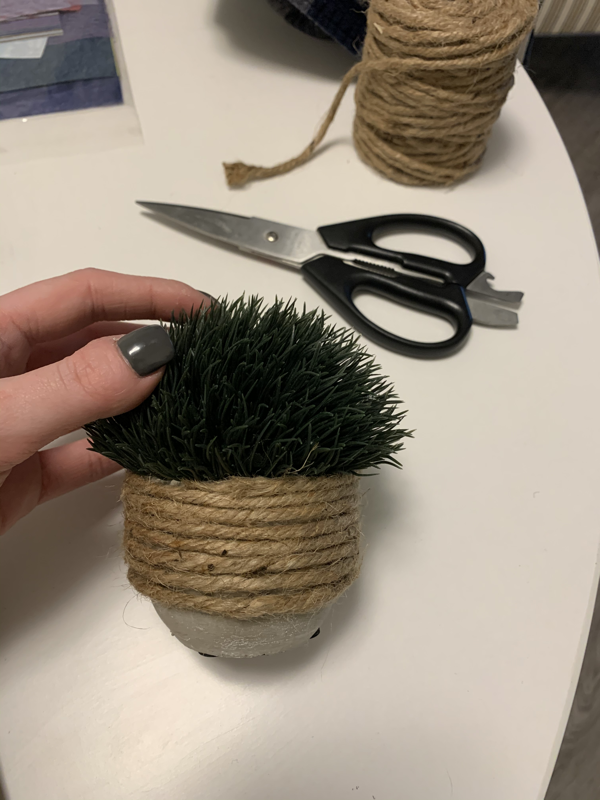
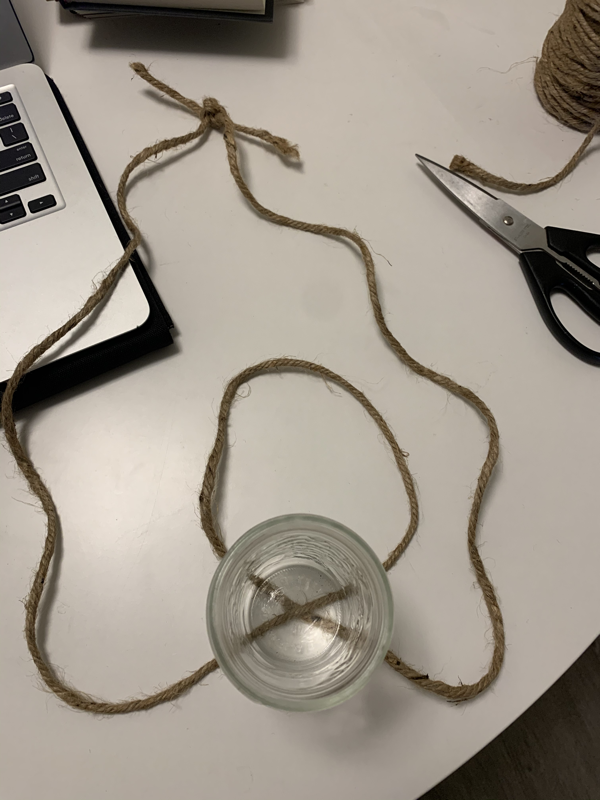
This week I thought I would do some smaller DIY projects instead of one large project. I needed some inspiration and wasn’t feeling up to doing a full project. As well, I felt that I was lacking creativity, even though I have so many DIY ideas. Even with ideas and supplies, the creative feelings just weren't there for me. This podcast gave me some ideas to re-spark creativity. I mentioned this podcast here, but I found it so helpful and thought of it right away when writing this post. One of the tips is to search the internet of crafts that involve supplies that I already have. For example "jute cord crafts." I wanted to improve something that I already had to make this week’s DIY task seem more manageable. had a few fake plants in my living room, from IKEA and Dollarama, of which the containers needed some love. The long vine from IKEA was molded in a black clastic container and the bush-looking plant is from Dollarama that I’ve had for years. The base of it mimicked a concrete planter (as slightly shown in the last photo). These plants have been fine so far, but I wanted to incorporate my love for the look of jute cord. Luckily, I’ve had a roll of it from Dollarama for months (I’ve gotten so much use out of it, there was a lot more than I expected). See how they turned out and how I styled them at my house! This was a quick trick that I’m sure I’ll be doing more frequently to enhance the look of cheap decor. I realized I really like using what I already have - it’s cheap and resourceful. Another quick DIY I did was a makeshift jute plant hanger. I watched a video that I had pinned on Pinterest. It went too fast for me, I couldn’t keep up, so I probably watched it about 10+ times because it looped, thankfully. This was definitely not my most favourite online-learning moment. I watched to double check that I was following the video right, and I stumbled upon another video of the same process that went slower. I am ashamed to say that it’s originally from Tik Tok.. The shape of the jar and it’s depth would make it difficult to hold a plant well, but I’m glad I now know how to make the jute hanger. I intend on finding a better container to use.
This little DIY helped me to feel creative when I was lacking some motivation for a large scale project. If you have some other ideas for quick home DIYs like these, let me know! I’d love to hear from you. I’m hoping that next week I’ll find a larger project to try.
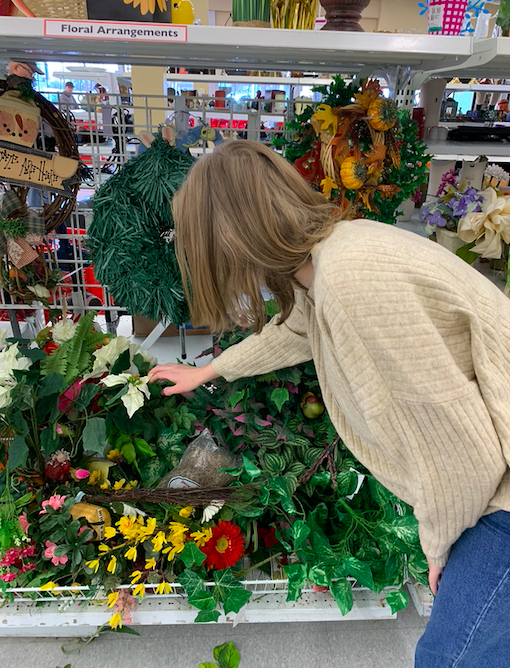
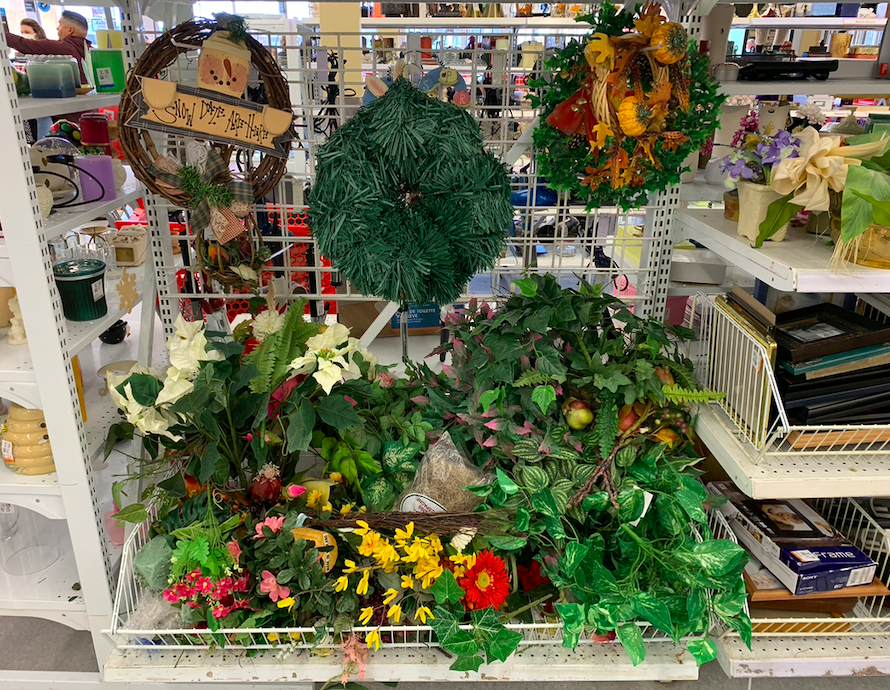
This idea to create fall wreaths is from a fellow teacher friend, Kyla. She saved me a lot of research time by suggesting this.
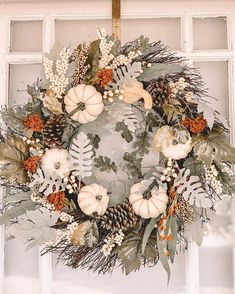
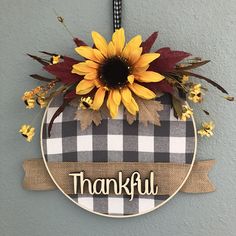
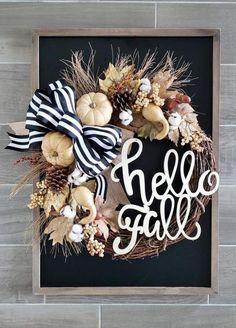
I can't do any DIY without knowing what I want the finished product to look like; here was my inspiration, from the one and only, Pinterest. Pinterest is the best for ideas.
Now I have ideas and supplies, which won't get me far if I don't know what I'm doing. Pinterest didn't give me much instruction, and I didn't want to read instructions by using the picture's links to blogs. I wanted to see a wreath being made! Where else would I go then to my trusty pal, Youtube.
Here is the Youtube video I intended to use, but I really just improvised, and went with my instinct. This "wing it" type of attitude is definitely not something I'm great at doing, but it was a nice change to be creative without boundaries or a how to guide. This method I would like to try again.
Luckily, I did this DIY with a friend, so I was able to ask her for ideas instead of watching a video. This provided some reassurance even though I was out of my comfort zone by going with the flow.
To document how I went about doing this, I used Fotobabble. Check it out here. If you’re not familiar with this tool. I’ve given it a review. And, voila! I am obsessed with the final product. 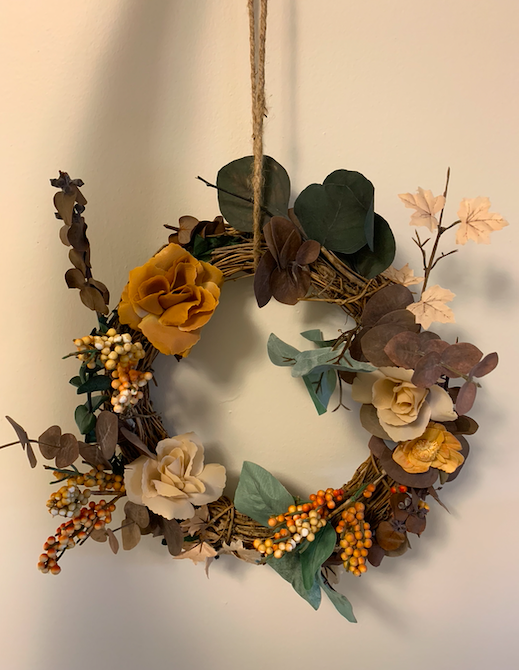
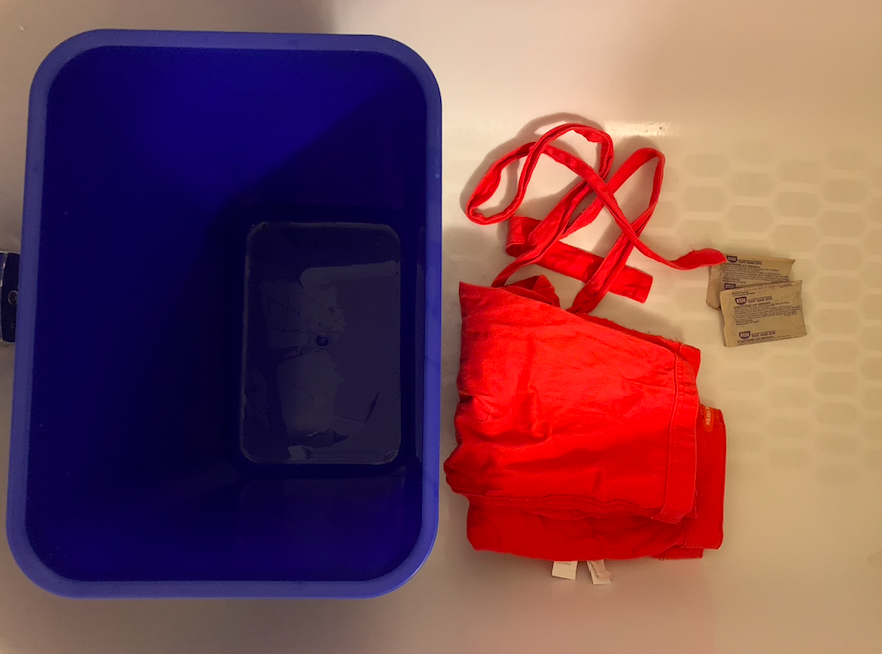
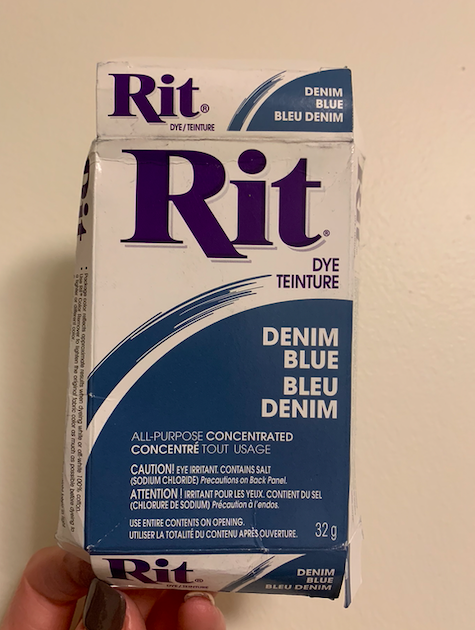
This week I spent time looking for more DIY ideas on Pinterest. First, I started by looking for clothing DIYs, because, first, I have a lot of clothes and second, it would make sense following my last project. One thing I'm noticing as I look on Pinterest for "DIY clothing ideas", is that most involve sewing. One problem. I don't know how to sew. My friend even suggested I DIY a pair of thrift store jeans from Salvation Army for her which involved ... you guessed it. SEWING. No thank you. 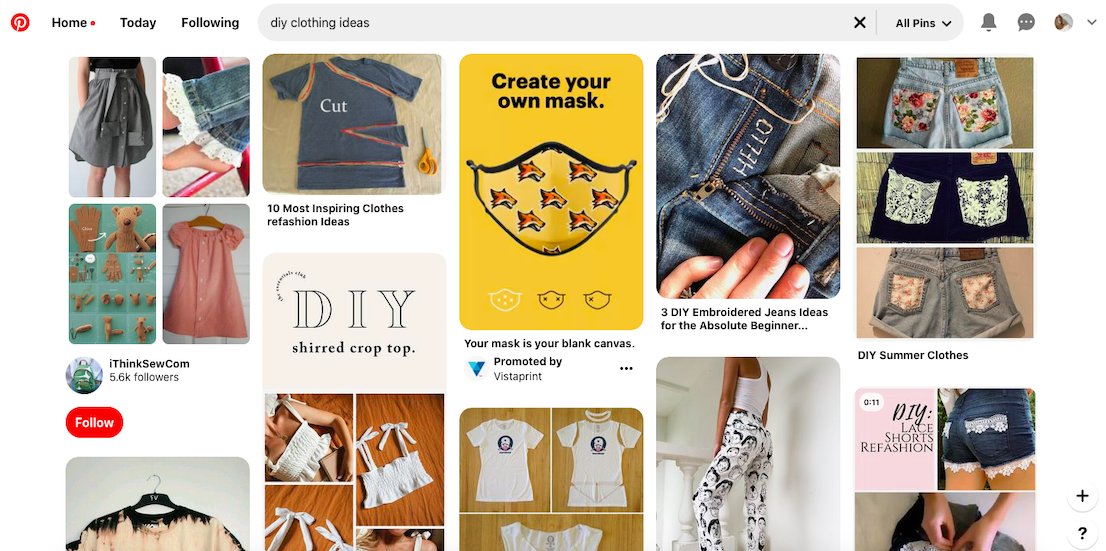
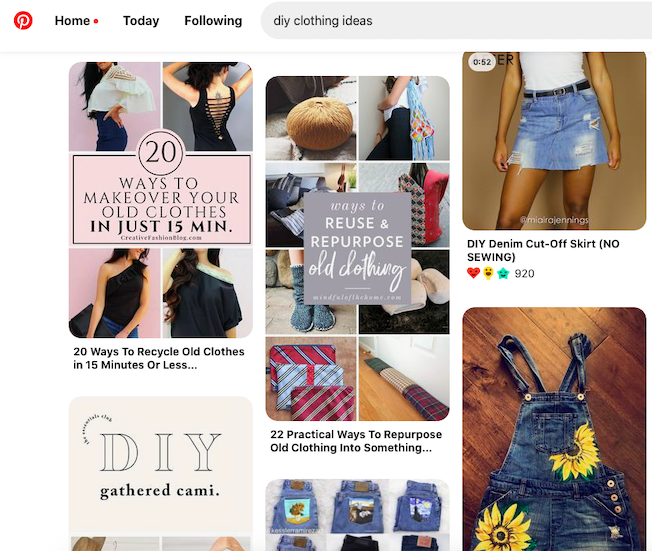
This was overwhelming, so I decided, for now, I'd look for other types of projects. I found a Buzzfeed article that outlined some of the easiest DIY projects - I felt defeated, okay? Lack of sewing knowledge is a later problem, if even a problem at all. Even though there are no-sew ideas, I quickly moved on from anything even close. I discovered it's very overwhelming to search Pinterest without anything in mind. Usually, I'd be okay with this, as I rarely actually do the DIYs that I pin, but this learning project is a different situation. I have to be purposeful. In my search, I also looked through what supplies I already owned, and asked around for what supplies I could get my hands on for free. This podcast suggests to crafters, especially those that are lacking creativity at the moment, should take inventory of supplies. This is what I've summarized: - A friend has pieces of a mirror (her cat broke it, long story) - fairly good potential, depending on the size and shape of the broken pieces. - She also has a full length mirror frame - My sister has a bunch of jars and transparent glass vases - also good potential. - My sister also has so many options of paint colours and brushes, which I can easily use for just about anything. - In the backyard shed at my Dad's there are lots of tomato wire planters - There's some scrap wood in my Dad's garage too I was also contemplating what types of home decor items I have wanted to buy recently that I may as well try making, if they aren't too out of my reach. I've found this podcast as a guide to whether I should try to make or buy an item, so clothing may be one of those things that I stick to buying, or have someone else mend it if needed. I looked through my favourite home decor websites for inspiration -Wayfair, Structube and Opposite Wall. Some ideas I have for this are: - abstract pantings - plant stand(s) - chalkboard sign - mirror table tray So, I'm not a seamstress, but I can work around that. Knowing what I have access to, and what my level of comfort is (and my level of comfort to experiment), I began the Pinterest search again. This time, I lucked out on finding the PERFECT next project. I'll give you a hint - it's a festive one, and very Pinterest worthy. Stay tuned! To start my learning project, I did I DIY that I wanted to do this summer but, naturally, ran out of time before work started back up. I used a pair of 99% cotton pants from Joe Fresh that are a very coral pink. Here's a link to a similar pair. I love the color but I wanted to make them more versatile for all seasons. To me, coral isn't a color that I would wear in Fall, for example. I chose to dye them denim blue, as the package indicates. I own a lot of black clothing and I am not short of black pants, so blue seemed like a better option. I hope *fingers crossed* that they turn out navy blue and that the color is uniform on the fabric. Here's to hoping! This is supposedly achievable with constant movement of the garment in the water, but who has time for that?! Like any brilliant DIY-er, I let the pants soak in the dye overnight and during the next day while I was at work. I moved it around when I could. Here's some pictures from the dying process. Emptying the bin after dying was a process. I knew I shouldn't put the coloured water into the bathtub, but had I tried the sink it would've ended up on the floor, and dumping it on the grass would've looked like a blue-blood murder scene. So, down the tub drain it went. The tub is only (slightly) stained blue. As you can tell from my photos, the prior renter already made a fancy pattern on the tub floor from hair dye, so I didn't feel too bad.
Once I did that, I was scared to wash or dry the pants. So, once I figure out how to do so in a somewhat clean fashion, I will prep my pants to show. I anticipate for next week's blog post, I'll show the finished product from this DIY. I anticipate the color will fade after washing the pants in cold water and drying on low heat. My intention with this project is not to perfect every technique, but to be comfortable in trying multiple - even if they don't go as planned. Stay tuned! |
Categories
"instagram logo copyright free Virginia State Parks" by vastateparksstaff is licensed under CC BY 2.0

"Copyright free Pinterest logo Virginia State Parks" by vastateparksstaff is licensed under CC BY 2.0

"youtube logo" by redsoul300 is licensed under CC BY-NC 2.0

"Google Logo Search" by theglobalpanorama is licensed under CC BY-SA 2.0

"cc-logo" by openDemocracy is licensed under CC BY-SA 2.0
|


 RSS Feed
